Wood pumpkins have become one of the most beloved autumn decorations, offering a rustic charm that lasts year after year. Unlike their real counterparts, these handcrafted beauties won’t rot, making them a sustainable and cost-effective choice for seasonal décor. Whether you’re a seasoned woodworker or a complete beginner, creating your own wooden pumpkins is a rewarding project that adds personality to your fall festivities.
Why Choose Wooden Pumpkins?
Wooden pumpkins offer several advantages over traditional decorations. They’re incredibly durable, weathering seasons without deterioration. You can customize them to match your exact style preferences, from farmhouse chic to modern minimalist. They’re also eco-friendly, reducing waste while creating heirloom-quality pieces you’ll treasure for decades.
Materials You’ll Need
Before starting your project, gather these essential supplies. You’ll need wooden boards (pine, cedar, or reclaimed wood work beautifully), a saw for cutting (circular, miter, or jigsaw), sandpaper in various grits, wood glue or a nail gun, and a branch or dowel for the stem. For finishing touches, collect paint or stain in autumn colors, paintbrushes, and optional embellishments like twine or burlap.
Step-by-Step Instructions
Planning Your Design
Start by deciding on the size and style of your pumpkins. Sketch your design on paper, considering whether you want tall and narrow shapes or short and plump ones. Traditional pumpkins have 5-8 vertical sections, but you can experiment with different numbers for unique looks.
Cutting the Wood Pieces
Measure and mark your wooden boards according to your design. Each pumpkin requires multiple slats of equal length but varying widths to create the rounded appearance. The center pieces should be widest, gradually decreasing toward the edges. Cut carefully, ensuring smooth, straight edges for better assembly.
Sanding for Smoothness
Sand all pieces thoroughly, starting with coarse-grit sandpaper and finishing with fine-grit for a smooth surface. Pay special attention to edges and ends where splinters might form. This step is crucial for both appearance and safety, especially if children will handle the finished pumpkins.
Assembling Your Pumpkin
Arrange your cut pieces from widest to narrowest to visualize the final shape. Apply wood glue between pieces or use a nail gun for quicker assembly. Ensure pieces are aligned at the base for stability. Allow glue to dry completely according to manufacturer instructions before proceeding.
Adding the Stem
Select a small branch or cut a dowel to serve as your pumpkin stem. Drill a shallow hole in the top center of your pumpkin, apply glue, and insert the stem. Natural branches add authentic character, while painted dowels offer a cleaner aesthetic.
Finishing Touches
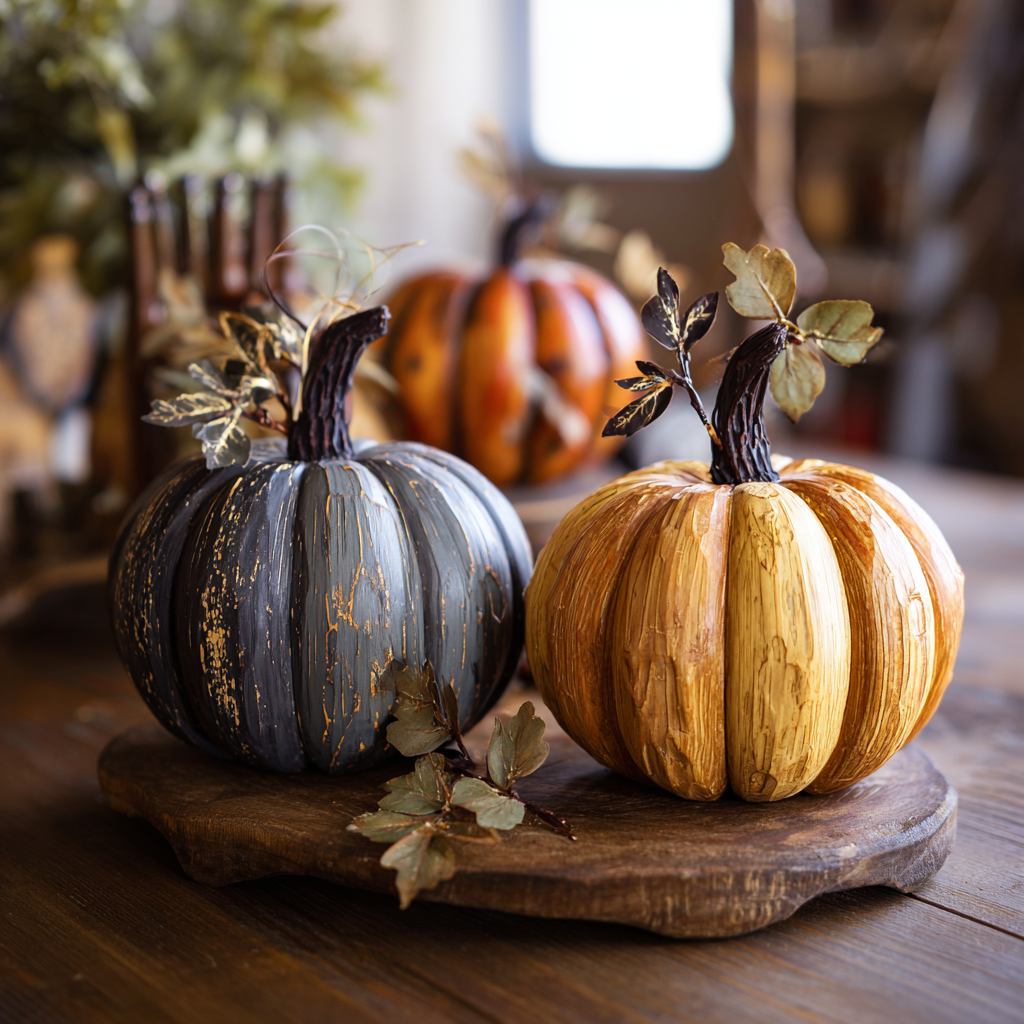
This is where your creativity shines. Paint your pumpkins in classic orange, or experiment with white, teal, or metallic finishes for modern flair. Distress edges with sandpaper for a weathered farmhouse look. Add decorative elements like painted vines, stenciled patterns, or wrapped twine around the base.
Creative Variations to Try
White painted pumpkins create elegant, sophisticated displays perfect for neutral décor schemes. Experiment with ombre effects by blending multiple paint colors from top to bottom. Stack different-sized pumpkins vertically for dramatic height. Create miniature versions as place card holders or gift toppers. Mix stained and painted finishes within the same grouping for visual interest.
Styling Your Wood Pumpkins
Display your creations on mantels, porches, or dining tables as centerpieces. Group odd numbers of pumpkins in varying sizes for the most pleasing arrangements. Combine them with real gourds, hay bales, or autumn foliage for layered textures. Use them in wreaths, garlands, or as bookends throughout your home.
Maintenance and Storage
Wooden pumpkins require minimal care but will last longer with proper attention. Dust regularly with a soft cloth and avoid placing them in direct moisture. If used outdoors, apply a weather-resistant sealant to protect against elements. Store in a dry location during off-seasons, wrapping in tissue paper to prevent scratches.
Common Mistakes to Avoid
Don’t rush the sanding process, as rough surfaces won’t hold paint evenly. Avoid using wood that’s warped or cracked, as it won’t assemble properly. Apply thin coats of paint rather than one thick coat to prevent drips and uneven coverage. Always pre-drill holes when using screws to prevent wood from splitting.
Budget-Friendly Tips
Source wood from pallets, old fences, or scrap bins at lumber yards for minimal cost. Shop dollar stores for paint and brushes to keep expenses low. Collect natural branches from your yard rather than purchasing dowels. Make multiple pumpkins at once to maximize material usage and reduce waste.
Conclusion
Creating wooden pumpkins is more than a craft project—it’s an opportunity to build lasting memories and decorations that grow more cherished with each passing year. With basic materials and a few hours of work, you can craft beautiful autumn accents that reflect your personal style while embracing the cozy spirit of the season. Start with a simple design, and as your confidence grows, experiment with more complex variations. Your handmade wooden pumpkins will become treasured pieces that welcome fall into your home for generations to come.