
Creating homemade Christmas ornaments is one of the most cherished holiday traditions families can share together. Salt dough ornaments offer the perfect combination of simplicity, affordability, and endless creative possibilities. Whether you’re crafting with young children or looking for personalized gift ideas, these handmade decorations will add warmth and character to your holiday celebrations for years to come.
What Makes Salt Dough Ornaments Special?
Salt dough ornaments have been a beloved craft for generations, and for good reason. Unlike store-bought decorations, these handmade treasures carry sentimental value that grows with each passing year. They’re incredibly budget-friendly, requiring only three basic pantry ingredients you likely already have at home. The crafting process itself becomes a memorable activity, bringing families together during the busy holiday season.
These ornaments are also remarkably versatile. You can create everything from simple shapes to intricate designs, customize them with paint and embellishments, and even preserve handprints or footprints as keepsakes. Best of all, they’re safe for children to help make, providing hours of creative entertainment while building lasting memories.
The Classic Salt Dough Recipe
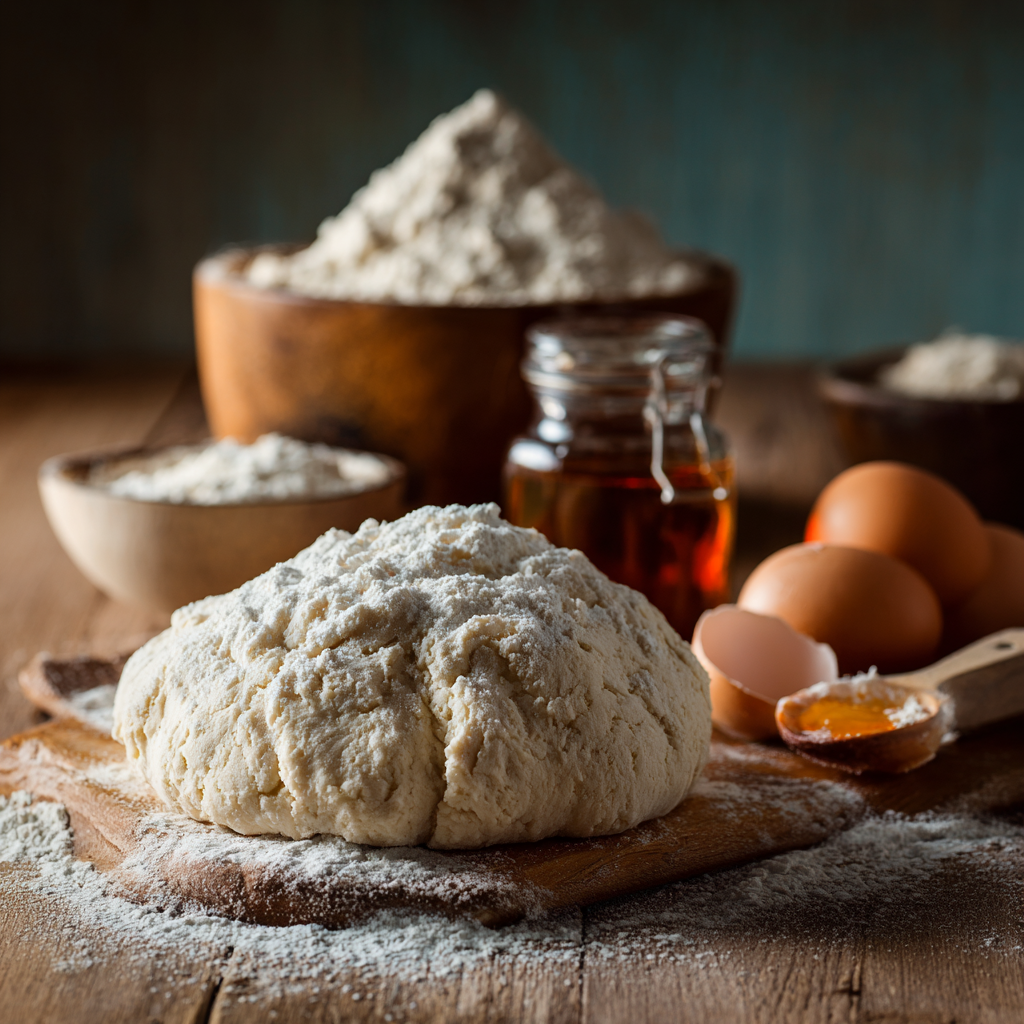
Making salt dough is incredibly straightforward. You’ll need just three simple ingredients that you probably have in your kitchen right now.
Ingredients:
- 2 cups all-purpose flour
- 1 cup table salt
- 1 cup warm water
Instructions:
Step 1: Mix the Wet Ingredients Begin by combining the warm water and salt in a large mixing bowl. Stir thoroughly until the salt completely dissolves. The warm water helps the salt break down more quickly, creating a smoother consistency.
Step 2: Add the Flour Gradually add the flour to your salt water mixture. Start stirring with a wooden spoon or spatula, bringing the ingredients together until they form a shaggy dough.
Step 3: Knead the Dough Transfer the dough onto a clean, lightly floured surface. Knead it with your hands for approximately five to seven minutes until it becomes smooth, pliable, and easy to work with. The dough should feel similar to play dough in texture.
Step 4: Adjust Consistency If your dough feels too sticky, add small amounts of flour one tablespoon at a time. If it seems too dry or crumbly, incorporate water drop by drop until you achieve the perfect consistency.
Pro Tip: Store any unused dough in an airtight container or wrapped tightly in plastic wrap. It will keep in the refrigerator for up to one week.
Creative Design Ideas for Your Ornaments
The beauty of salt dough ornaments lies in their versatility. Here are some popular design approaches to inspire your creativity.
Cookie Cutter Classics
The simplest method involves rolling out your dough to approximately one-quarter inch thickness and using cookie cutters to create festive shapes. Stars, Christmas trees, gingerbread men, snowflakes, angels, and candy canes are all timeless choices. Don’t forget to poke a hole at the top of each ornament with a drinking straw or skewer before baking so you can hang them later.
Handprint and Footprint Keepsakes
These precious ornaments capture a moment in time that you’ll treasure forever. Roll the dough slightly thicker (about half an inch) and gently press your child’s hand or foot into it. Carefully cut around the impression using a knife or round cutter, then add the year using letter stamps or by carving with a toothpick. Grandparents especially love receiving these personalized gifts.
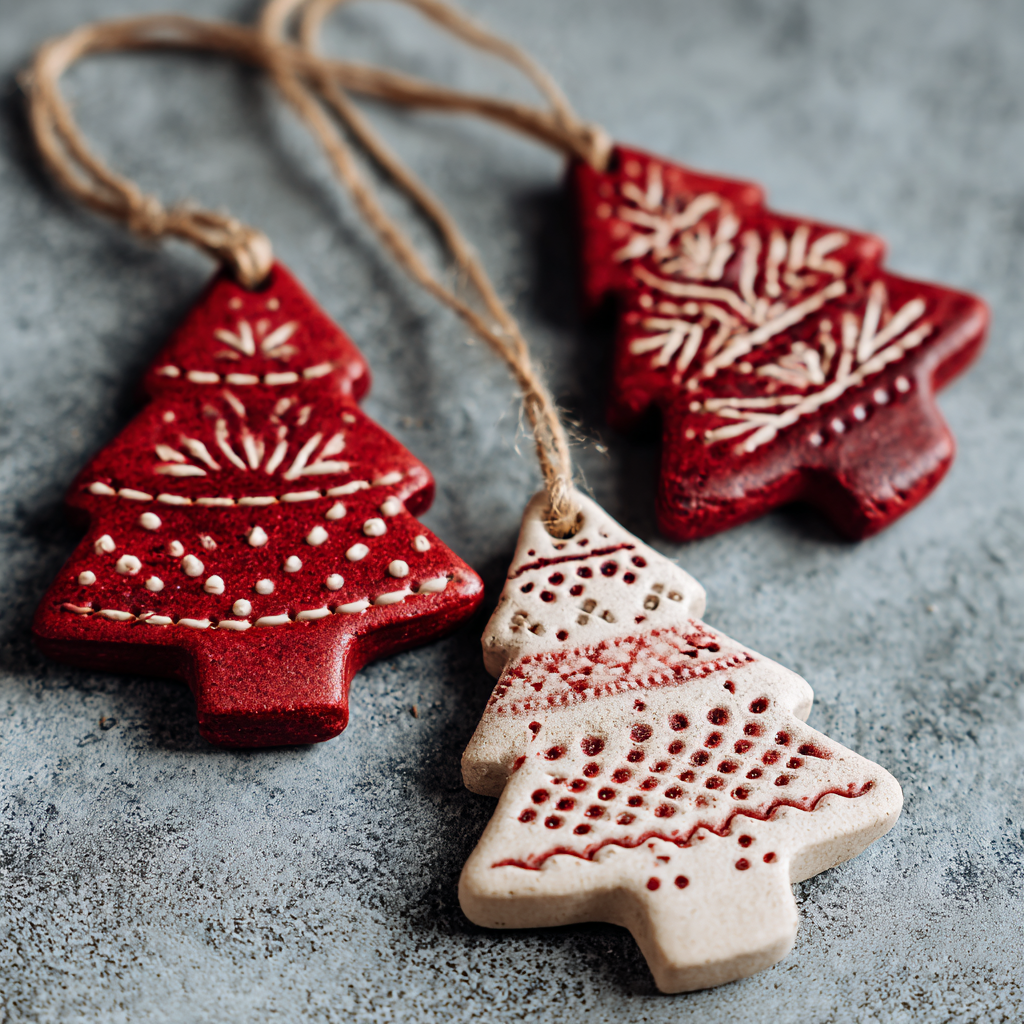
Textured and Stamped Designs
Add visual interest by creating texture before cutting your shapes. Press lace, burlap, or textured fabrics into the dough surface. Use rubber stamps, cookie stamps, or butter press molds to imprint detailed patterns. Letter stamps work wonderfully for adding names, dates, or holiday messages directly into the ornament.
Cinnamon Spice Ornaments
For a warm, gingerbread-like appearance and subtle fragrance, add one to two tablespoons of ground cinnamon to your basic recipe. This creates beautiful brown-toned ornaments that look like gingerbread cookies. You can also experiment with other spices like nutmeg or cloves for different scents and colors.
Geometric and Modern Designs
Move beyond traditional shapes by creating contemporary designs. Use geometric cookie cutters for hexagons, triangles, or diamonds. Layer multiple cutout shapes together before baking. Create minimalist designs with clean lines and simple patterns that complement modern holiday decor.
Nature-Inspired Ornaments
Bring the outdoors in by pressing real leaves, pine needles, or small twigs into your dough to create natural impressions. These botanical designs add an organic, rustic charm to your holiday tree.
Baking and Drying Your Ornaments
You have two options for hardening your salt dough creations: baking or air drying.
Oven Baking Method
This is the fastest approach and produces the most durable ornaments. Preheat your oven to 250°F (120°C). Arrange your ornaments on a parchment-lined baking sheet, ensuring they don’t touch each other. Bake for approximately one and a half to two hours, depending on thickness. Thicker pieces like handprints may require up to three hours.
Check your ornaments periodically. They’re done when they feel completely hard and dry throughout. If the bottoms are still soft, flip them over and bake for an additional 30 minutes. Let them cool completely on a wire rack before decorating.
Air Drying Method
If you prefer not to use your oven, air drying works well for thinner ornaments. Place them on a flat surface in a well-ventilated area. Flip them daily to ensure even drying on both sides. Depending on humidity levels and ornament thickness, complete drying typically takes four to seven days.
Decorating Your Salt Dough Ornaments
Once your ornaments are completely cooled and dried, the decorating fun begins. The plain surface acts as a perfect canvas for your artistic vision.
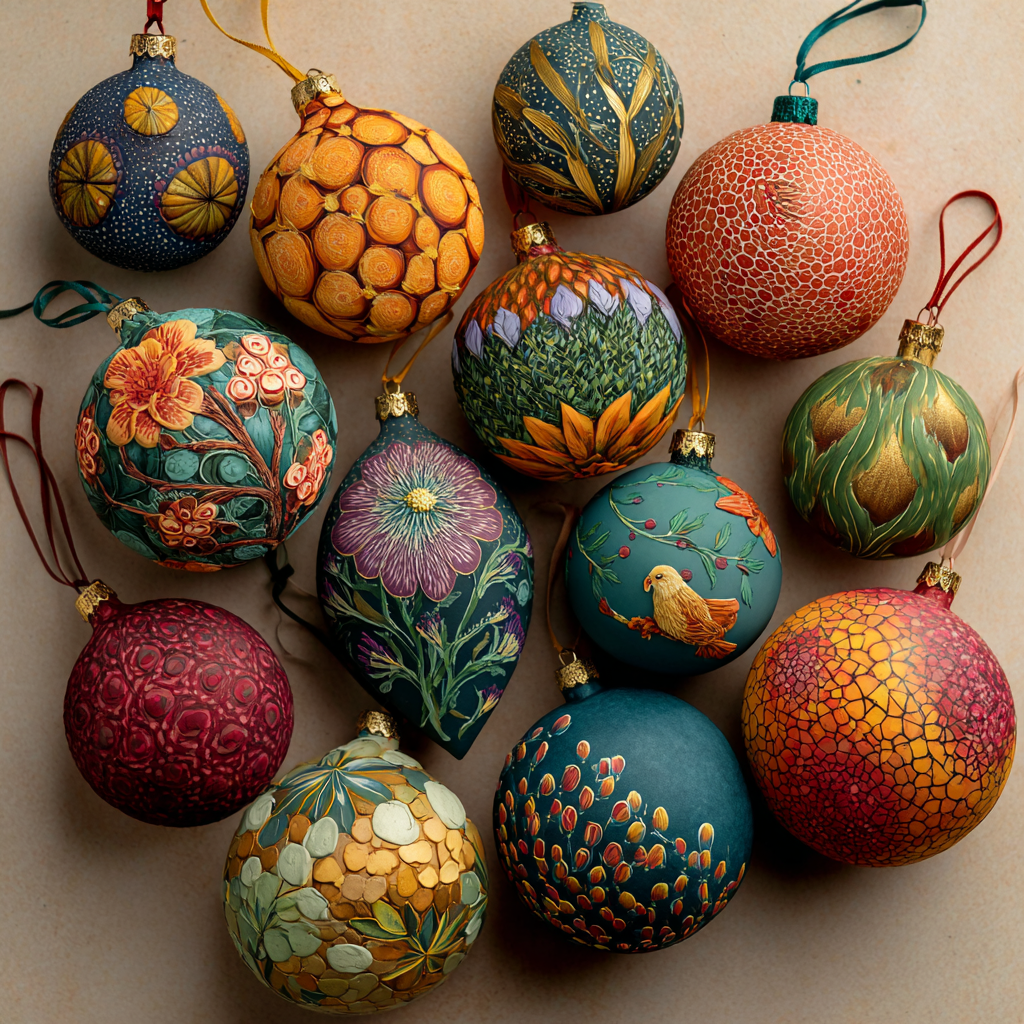
Painting Techniques
Acrylic craft paint works beautifully on salt dough. Apply a base coat of white paint if you want brighter colors, then add your designs. Try classic red and green combinations, elegant gold and silver, or winter whites and blues. Use fine brushes for detailed work or sponges for textured effects.
For a rustic look, leave some ornaments unpainted or lightly whitewash them. Add simple painted details like dots, stripes, or snowflakes for minimalist elegance.
Adding Embellishments
Take your ornaments to the next level with decorative touches. Glue on sequins, glitter, ribbon, buttons, or small beads. Add baker’s twine or metallic cord for hanging. Attach small jingle bells for a musical touch. Use metallic paint markers for fine details and lettering.
Sealing for Longevity
Protect your finished ornaments with a clear sealer. Mod Podge, clear acrylic spray sealant, or polyurethane all work well. Apply two to three thin coats, allowing each to dry completely between applications. This protective layer prevents chipping, preserves colors, and helps your ornaments last for many holiday seasons.
Storage and Care Tips
Proper storage ensures your salt dough ornaments remain beautiful year after year. Wrap each ornament individually in tissue paper or bubble wrap to prevent breakage. Store them in a sturdy box in a cool, dry place. Avoid damp basements or hot attics, as moisture and extreme temperatures can cause deterioration.
If ornaments develop small cracks over time, you can repair them with a dab of white glue. For best results, store them away from direct sunlight, which can fade painted designs.
Making Salt Dough Ornaments with Children
This craft is wonderfully suited for kids of all ages. Toddlers enjoy the sensory experience of kneading and shaping dough. Preschoolers can use cookie cutters with minimal assistance. Older children can handle more intricate designs and detailed painting.
Set up a dedicated crafting space with washable surfaces. Provide child-safe tools like plastic cookie cutters, rolling pins, and non-toxic paints. Embrace imperfection—wonky shapes and creative color choices often become the most treasured ornaments.
Turn crafting time into a multi-generational activity by inviting grandparents to join. These shared experiences create memories that far outlast the ornaments themselves.
Gift-Giving Ideas
Handmade salt dough ornaments make thoughtful, personalized gifts that recipients truly appreciate. Create sets of matching ornaments as housewarming presents. Make personalized ornaments featuring the recipient’s name or a special date. Package several ornaments together in a decorative box with tissue paper for a complete gift.
Teachers especially appreciate receiving handmade ornaments from students. Create ornaments shaped like apples, books, or pencils, or simply add a heartfelt message. New parents love receiving baby’s first Christmas ornaments featuring tiny handprints or footprints with the year.
Troubleshooting Common Issues
Dough is too sticky: Add flour one tablespoon at a time until the texture improves.
Dough is too crumbly: Incorporate small amounts of water gradually until it comes together.
Ornaments are browning too quickly: Lower your oven temperature to 225°F and extend baking time.
Ornaments are puffing or bubbling: Roll your dough thinner and ensure even thickness throughout each piece.
Ornaments are cracking: This usually happens with rapid temperature changes. Cool them slowly and avoid moving them while hot.
Variations and Advanced Techniques
Once you master the basic recipe, experiment with these creative variations:
Scented ornaments: Add essential oils like peppermint, orange, or pine for aromatic decorations.
Colored dough: Mix in food coloring or natural colorants like cocoa powder, turmeric, or beet juice.
Salt dough recipe alternatives: Try replacing some flour with cornstarch for a smoother finish, or add a tablespoon of vegetable oil for extra pliability.
Raised designs: Use a piping bag to add dimensional details before baking.
Combination techniques: Press small ornaments into larger base pieces to create layered, three-dimensional designs.
The Sustainable Choice
In our environmentally conscious world, salt dough ornaments represent a sustainable holiday decoration option. They’re made from simple, natural ingredients without plastic or harmful chemicals. They’re biodegradable at the end of their lifecycle. By creating your own decorations, you reduce consumption of mass-produced items and their associated packaging waste.
This craft also encourages resourcefulness and creativity over consumerism, teaching children valuable lessons about creating rather than simply purchasing.
Starting Your New Tradition
Salt dough ornaments offer something truly special—a way to slow down during the hectic holiday season and create something meaningful with your own hands. Each ornament tells a story, whether it’s a tiny handprint that captures how small your child once was, a shape cut by eager little hands learning to use cookie cutters, or a carefully painted design that showcases developing artistic skills.
As years pass, unpacking these homemade treasures becomes a beloved ritual. You’ll remember the laughter, the flour-dusted faces, the proud presentations of finished creations. These simple decorations made from flour, salt, and water become priceless family heirlooms that connect generations.
This holiday season, gather your ingredients, clear your workspace, and start a tradition that will bring joy for years to come. The memories you create while making these ornaments will shine just as brightly as any light on your Christmas tree.